Maxwell Render: What Top 3D Artists Won’t Tell You About Speed Optimization
Maxwell Render creates beautiful visuals, but those render times will test your patience and drive you to the edge of sanity. This physically based engine gives you incredible light accuracy for professional work, yet we’ve all been there—watching renders crawl along for hours. Maxwell Studio was built for architects, designers, and artists who want great visualization without endless setup. The problem? Learning takes time and demands serious hardware that can slow everything down.
Here’s what helps: you can reduce render times with wise material choices and better memory use. Maxwell Render 5 brought significant changes to U rendering, especially for materials, something older versions struggled with. You can now use multiple graphics cards together to speed things up. The cloud rendering option processes an image in 16 minutes for €1.06, while Ranch Computing does it in 2 minutes for €2.38. This article shows you the speed tricks experienced Maxwell render artists use but don’t often discuss.
Getting Maxwell’s Rendering Engine to Work Faster

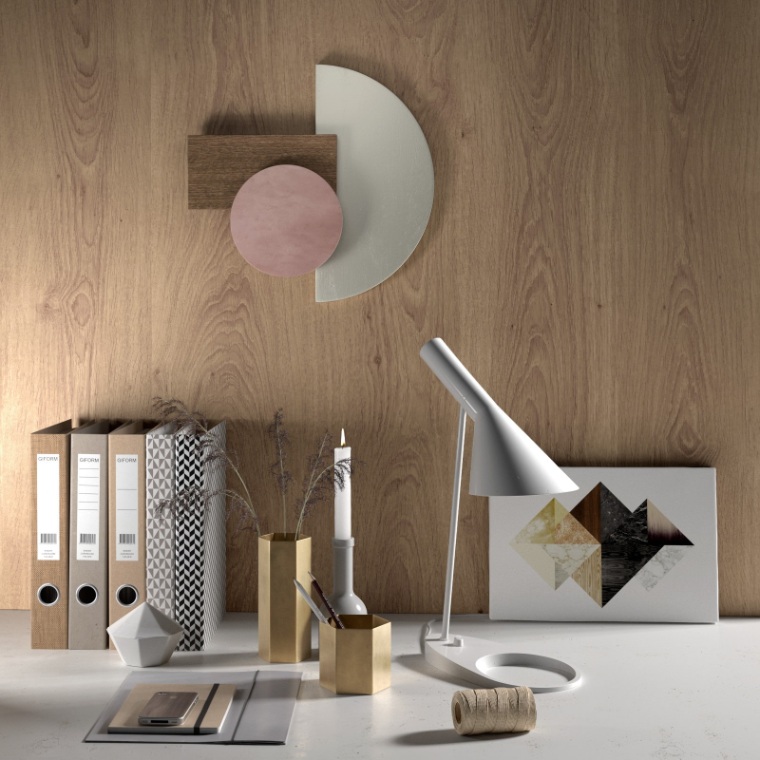
Image Source: maxwellrender.com
Speed optimization in Maxwell render feels like some secret skill that only pros know about. The truth is simpler—once you understand how the rendering engine works, you can control those render times much better. Maxwell’s physically based approach needs different tricks than other renderers to keep both quality and speed working together.
Maxwell Render: GPU vs CPU Rendering: When to Use Each
Maxwell render gives you two ways to render: GPU and CPU. Each works better for different projects, and picking the right one significantly affects your work speed.
GPU rendering handles complex math in parallel, which makes it perfect for scenes with normal material and standard lighting. My tests show the GPU can be up to 15x faster than the CPU for some scenes, especially ones with simple materials and reasonable polygon counts. But you need the proper hardware to make it work.
For good GPU rendering in Maxwell, you need:
- NVIDIA GPUs with CUDA capability 3.0 or higher
- At least 4GB VRAM (8 GB+ works better for complex scenes)
- Current NVIDIA drivers
Here’s how to decide which method fits your project:
| Factor | GPU Rendering | CPU Rendering |
|---|---|---|
| Speed | Faster for standard scenes | Slower but more consistent |
| Memory Limitations | Limited by VRAM | Limited by system RAM |
| Material Compatibility | Limited support for complex materials | Full support for all material types |
| Feature Support | Partial feature set | Complete feature set |
| Hardware Cost | Higher initial investment | More affordable scaling |
| Scene Complexity | Best for moderate complexity | Better for highly complex scenes |
CPU rendering still matters for scenes with complex shaders, detailed geometry, or special render features. The CPU gives steady results no matter how complex things get; it’s slower.
What works well is using the GPU while you test lighting, materials, and composition. Then, switch to the CPU for final high-quality renders when you need all of Maxwell’s features working.
Architectural projects with many glass materials or complex MXM shaders usually work better with CPU rendering, despite taking longer. Product visualization with simpler materials can use GPU rendering and save time without losing quality.
Making Materials Work Better with GPU
Material optimization might be the most critical factor in achieving faster Maxwell renders. Maxwell’s layered material system is powerful, but it can slow things down if it isn’t set up correctly.
Start by looking at your materials for stuff you don’t need. Each material layer in Maxwell render adds extra calculations, especially in GPU mode. Here’s how I optimize materials:
- Combine material layers – Mix similar effects instead of using separate layers
- Use simpler BSDF models – Pick simpler BSDF types when you can (Maxwell skin over AGS works)
- Fix texture maps – Use the proper texture resolution and don’t tile too much
- Try procedural textures – They use less memory than bitmap textures
- Use material instances – Reference materials instead of copying complex ones
When making materials for GPU rendering, remember that Maxwell’s GPU engine has improved dramatically, but still has limitations. Materials with fewer than four layers usually render much faster on GPUs than complex multi-layer setups.
Replacing complex material setups with simpler ones often looks the same but renders much faster. Instead of using multiple layers with tiny differences, one layer with a good texture map can do the same while rendering much quicker.
Texture resolution matters a lot, too. 8K textures look great up close, but consume tons of memory. For most work, 2K or 4K textures give you enough detail, using way less memory and rendering faster.
For displacement materials, try this:
- Use vector displacement maps when possible
- Only apply displacement where you need it (not on whole objects)
- Adjust subdivision levels based on how far the camera is
- Make lower-resolution displacement previews for test renders
Maxwell’s GPU engine handles materials differently than the CPU engine. Materials made specifically for GPUs can render 2- 3x faster than unoptimized versions of the same materials.
GPU Mode Doesn’t Support Everything
Maxwell’s GPU rendering improves, but some features don’t work well in GPU mode. Knowing what to avoid saves you from crashes and weird results.
Don’t use these features in GPU mode:
- Dispersion effects in glass materials
- Complex nested materials with multiple scattering layers
- Some procedural textures (the complex algorithm ones)
- Volumetric scattering in participating media
- Custom BSDF plugins that aren’t GPU-compatible
Maxwell GPU rendering also has problems with displacement mapping. Basic displacement works, but complex multi-level or vector displacement can cause issues or render slower than expected.
I’ve seen scenes that render fast on the GPU until you add certain materials, at this point, the renderer switches back to CPU calculations for those parts. This mixed rendering usually works worse than pure CPU Maxwell rendering. Test materials individually in GPU mode before putting them in bigger scenes.
For scenes that need unsupported features, split the rendering:
- Render the main scene with GPU-compatible materials
- Make a separate pass for parts that need CPU-only features
- Put the passes together in compositing software
This maintains both speed and quality while avoiding GPU limits. Many professional Maxwell artists do this for complex commercial projects.
Memory management is another issue. GPU rendering is limited by VRAM, which allows complex scenes to be used quickly. When a scene needs more VRAM than you have, rendering fails or slows way down as the system moves data between the GPU and system memory.
Maxwell render shows GPU memory usage in the render window. Watch this number to spot bottlenecks before they cause problems.
Additive Materials and How They Affect Render Time
Additive materials in Maxwell are powerful but confusing. They affect render times, and understanding how they work helps optimize performance.
Regular materials interact with light naturally, but additive materials emit light without following physics. This makes them great for:
- Light-emitting screens or displays
- Glowing elements
- Special visual effects
- Non-physically based lighting elements
The main benefit of additive materials is the ability to create glowing effects without using actual emitters that slow down rendering. However, they also have their own performance issues.
Additive materials can actually speed up renders in scenes where they replace complex emissive setups. Instead of using an emitter with high sampling for clean glow effects, an additive material can do the same with less sampling.
How additive materials affect render time depends on:
- How complex the material setup is – Simpler additive materials render faster
- Scene lighting conditions – Additive effects in dark scenes need less sampling
- Texture resolution – High-resolution textures in additive materials use more resources
- Number of additive elements – Too many can increase memory usage
To optimize additive materials for faster rendering:
- Use RGB color channels instead of spectral definitions when possible
- Don’t use complex texture setups for additive elements
- Place additive materials carefully to minimize scene impact
- Balance intensity to avoid too many light bounces
One trick I use involves using additive materials as “lighting helpers” in complex scenes. I put additive planes outside the camera view, facing dark areas, to reduce the sampling needed to clean up those areas.
Additive materials also work differently with Maxwell’s GPU rendering engine than standard materials. They usually process more efficiently on a GPU, making them suitable for GPU-suitable optimization.
For example, creating screen displays in architectural visualization works better with additive materials than emissive materials with high sampling requirements. Screens made with correctly set corrective materials render much faster while looking just as good.
For product visualization, especially electronics with lit elements, additive materials let you control how lights look without the rendering overhead of physically accurate light emission. This can cut render times by 30-40% in scenes with multiple lit elements.
Additive materials don’t participate in global illumination calculations like standard materials do. This can speed up rendering but makes lighting interactions less physically accurate.
To get the most from additive materials:
- Use them mainly for elements that need to look illuminated
- Mix them with standard materials for hybrid effects
- Apply color correction in the material definition instead of post-processing
- Test different intensity values to find the best balance between visual impact and render time
Once you understand how to use different material types strategically and know what the core rendering engine can do, you’ll get much faster render times without losing the photorealistic quality that makes Maxwell Render so good for professional work.
Maxwell Render: Scene Setup Tricks Top Artists Use
Fast Maxwell renders start with a smart scene setup. The pros know workflow tricks that cut render times without losing quality. Most artists keep these techniques to themselves after spending years figuring them out.
Multilight Grouping to Reduce Slider Overhead
Multilight is one of Maxwell’s best features—you can tweak lighting after rendering without starting over. But many people miss the fact that each separate emitter slider requires additional RAM because Maxwell stores every light contribution separately.
Scenes with lots of lights can eat up memory fast. Maxwell 5 fixed this with Multilight groups.
It works like this: emitters with the same Multilight group name show up as one slider, working together as a single light source. This gives you:
- Less memory used – Fewer light channels means less RAM needed
- Easier lighting control – Related lights move together
- Cleaner interface – Less clutter when you’re making adjustments
- Same render speed – Grouping lights doesn’t slow anything down
Group your lights smartly:
- Put related lights together (like all your ceiling spots)
- Name groups clearly so you remember what they are
- Think about how you’ll adjust them later
Multilight doesn’t slow down renders at all. It saves each light’s info in the MXI file, so you can adjust them later without recalculating. Once you get the lighting right, you can return those values to the scene for next time.
Maxwell 5 lets you edit multiple sliders at once, too. Hold Ctrl+click (Cmd+click on Mac) to select and change several sliders together. This helps when you’re balancing complex lighting.
Color Multilight gives you more creative control—you can change emitter colors after rendering. But it uses more RAM than the regular Intensity Multilight. When testing speeds, try switching to Intensity Multilight or turning it off completely to see your baseline performance.
Using MXS References to Lower Viewport Load
Memory gets tight with complex Maxwell scenes. One trick the pros use is that the MXS References function as a special type of component made by the Maxwell plugin. Instead of holding geometry, these pairs are tied to external Maxwell MXS files that only load when rendering. This helps a lot:
- Tiny memory footprint – MXS files show up as simple boxes in your modeling app
- Faster viewport – Less geometry means smoother navigation
- Smaller file sizes – MXS References keep your leading scene files light
- Faster network transfers – Smaller files move faster for team rendering
It works like regular components. Each Group in SketchUp has its faces, but component instances point back to one definition. Maxwell does something similar—it uses both meshes (each Group and Component definition becomes a mesh) and instances of meshes (each Component instance becomes an instance).
Setting up MXS References takes some planning:
- Find repetitive or heavy geometry in your scene
- Export these as separate MXS files
- Replace the original geometry with MXS References
- Adjust materials and positioning
This works great for plants, furniture, machinery, or recurring architectural details. The Subdivision modifier uses Pixar’s subdivision modes to smooth low-poly objects, so you can keep scenes light while getting high-quality results.
Check our YouTube channel for step-by-step videos of these scene setup tricks from professional Maxwell artists.
One thing to watch: MXS files can hold gigabytes of geometry, which might max out memory in Maxwell FIRE. Use this technique carefully. Since MXS References work like Components, only the first instance uses full memory, so extra instances stay lightweight.
Procedural Textures: Random Color and UV for Lightweight Scenes
Procedural textures are powerful, but most people ignore them. Unlike bitmap textures with fixed pixels, procedurals use math to create patterns. This gives you real advantages:
- Perfect tiling – Being mathematical, they tile without seams
- Unlimited resolution – Zoom in without seeing pixels
- Works everywhere – Consistent across different systems
- Uses less memory – Math formulas need less RAM than big images
Maxwell has a full set of procedural textures:
| Procedural Name | Function | Optimization Benefit |
|---|---|---|
| Brick | Creates brick/tile patterns with random distribution | No need for large tiled textures |
| Checker | Makes chess patterns for layer masks | Simple pattern, tiny memory footprint |
| Circle | Plots procedural circles | Perfect circles without bitmap files |
| Gradient/Gradient 3 | Creates color transitions in U/V directions | Smooth transitions without banding |
| Grid | Makes grid patterns for layer masks | Lightweight alternative to bitmap grids |
| Marble | Simulates marble textures | Realistic stone without large textures |
| Noise | Creates seamless noise for material variation | Natural variation with minimal resources |
| Voronoi | Makes patterns for cracks or cells | Complex organic patterns without detailed maps |
| Wireframe | Shows the object’s wireframe structure | Technical visualization without post-processing |
| Random Color | Creates color variations within set ranges | Material variety without unique textures |
| Random UVs | Randomly rotates or moves textures on objects | Breaks repetition without duplicate materials |
Two procedures help with optimization:
Random Color creates variations within your set of hue, saturation, and value ranges. This lets you add material variety without making multiple unique textures. Say you’re filling a scene with dozens of books, leaves, or cars that need subtle color differences—Random Color handles this efficiently without extra texture memory.
Random UVs randomly rotate or move textures on each object. This breaks up obvious repetition when the same texture appears multiple times. Without this, you’d need numerous texture variations or UV maps, using more memory.
Maxwell gives you two ways to map procedural textures:
- Texture coordinates – Uses the object’s UV mapping, needs UV sets
- World coordinates – Uses scene coordinates, maps seamlessly across objects without UV sets
World coordinates usually work better for procedurals since they create seamless transitions across objects without perfect UV mapping.
Professional artists often stack multiple procedurals to create complex textures without bitmap files. This works exceptionally well for architectural visualization, where concrete, stone, and wood materials benefit from subtle procedural variations.
Camera Settings That Affect Render Time: ISO, f-Stop, Shutter Speed
Maxwell uses a real camera system instead of simplified settings like other renderers. This creates fantastic realism, but camera settings directly affect render times in ways most artists don’t realize.
Maxwell’s camera has settings photographers know:
- ISO sensitivity
- Aperture (f-stop)
- Shutter speed
- Film size
- Focal length
These don’t just change exposure and depth-of-field—they change how Maxwell’s rendering works.
When a scene renders too dark, beginners crank up emitter output to extremely challenging levels (millions of watts). This always leads to render times and noise problems longer. The proper fix usually means adjusting camera settings to realistic values.
Here’s how camera settings affect rendering speed:
ISO Setting
- Higher ISO captures more light with fewer samples
- Raising ISO can speed up renders for dark scenes
- Very high ISO adds noise (just like real photography)
- Sweet spot: 100-800 for clean renders, higher for quick previews
Aperture (f-stop)
- Smaller apertures (higher f-numbers) create deeper focus but need more light.t
- Wider apertures (lower f-numbers) gather more light but create shallow focus.
- Faster renders usually use a f/2.8-f/5.6 range
- Deep focus shots (f/11-f/22) generally render more slowly
Shutter Speed
- Longer exposure times gather more light per sample
- Faster shutter speeds might need more sampling to resolve
- Motion blur effects increase render time
- For still scenes, longer shutter speeds often render faster
These settings work together like in authentic photography. Just as photographers balance the exposure triangle (ISO, aperture, shutter speed), Maxwell artists must find the right balance for each scene.
Here’s a key rule: “The more ‘fast light’ in your scene, the faster your render time will be”. Camera settings that let more light reach the virtual sensor usually reduce the sampling needed for a clean render.
For tricky interior lighting:
- Start with realistic camera settings (ISO 100-400, f/4-f/8)
- Adjust exposure with shutter speed first
- Raise ISO only when you need to
- Use wider apertures when the depth of the field isn’t critical
- Add practical lights to brighten dark areas
This explains why two similar scenes might render at totally different speeds. Often, it’s not scene complexity but how efficiently the camera settings capture available light.
Maxwell’s physical camera model has other factors that affect render performance:
- Bokeh type – Complex bokeh shapes render more slowly
- Lens distortion – Enabling lens distortion adds calculation overhead
- Motion blur – Increases render time when enabled
- Film response – Different film response curves affect noise characteristics
Think like a photographer, not just a 3D artist, and you’ll get better results faster. Since Maxwell follows physical rules, real photography solutions often work directly for rendering problems.
Maxwell Render: Advanced Speed Techniques for Large Projects

Image Source: Fox Render Farm
Big Maxwell projects require different tricks than regular renders. Huge architectural scenes, detailed product designs, and complex environments push standard optimization methods to their limits. Specialized approaches are needed to keep render times reasonable without sacrificing quality.
Multi-GPU Rendering Setup with CUDA Cards
Using multiple graphics cards gives you the most significant speed boost for complex Maxwell projects. A good multi-GPU setup can finish renders in minutes instead of hours, much better than CPU rendering alone.
Maxwell’s GPU engine only works with NVIDIA CUDA-compatible cards, so AMD or Intel graphics won’t help you here. Your best bet is cards with Maxwell, Pascal, Volta, or Turing architectures (compute capability 5.0 or higher). Some older Kepler cards might work, but they’re not officially supported.
Three things matter most for GPU rendering speed:
- VRAM capacity – Controls how complex your scenes can be
- CUDA core count – More cores mean faster rendering
- Memory interface/bandwidth – How fast data moves around
A solid multi-GPU workstation looks something like this:
| Component | What You Need |
|---|---|
| GPU | 2-4x NVIDIA RTX 3090/3080/2080Ti |
| Motherboard | PCIe 4.0 with room between slots |
| Power Supply | 1200W+ (for 3+ high-end cards) |
| Cooling | Extra fans or liquid cooling |
| OS | Windows 10/11 (better CUDA support) |
Can’t afford multiple cards? Cloud-based multi-GPU services let you rent systems with 2-6 RTX cards simultaneously.
Setting up your multi-GPU system takes some work:
- Install the newest NVIDIA drivers
- Turn on SLI mode if your cards support it
- Pick GPU as your render engine in Maxwell
- Make sure all your cards show up in GPU settings
- Adjust memory allocation between cards
This works best when your materials are already optimized for GPU compatibility.
Using Maxwell Render Farm and Cloud Services
Tight deadlines or scenes that crash your computer? Maxwell’s cloud rendering solutions can handle almost any project size.
Maxwell Cloud gives you access to machines with 96 cores and 86.4GB of RAM that run 24/7. It connects directly to Maxwell software. Click here to submit your render without complicated setup. Each cloud machine handles one render, but you can start multiple renders on different machines.
The catch is memory—scenes needing more than 86.4GB RAM won’t work. But you get everything back, including MXI files for Multilight adjustments later.
Services like iRender offer more hardware options. They have day/week/month packages with up to 50% discounts for regular users. You can pick the hardware your project needs exactly.
Check our YouTube channel for step-by-step multi-GPU and cloud rendering guides.
Cloud rendering helps in several ways:
- Keeps your computer free for other work while rendering happens elsewhere
- Gets you better hardware than you might own
- Scales up or down based on what you need
- Meets deadlines without buying new equipment
- Handles huge scenes your computer can’t manage
Cost-wise, Maxwell Cloud typically charges around €1.06 for 16 minutes of processing, compared to €2.38 for 2 minutes on specialized render farms.
Importing V-Ray Scenes to Save Setup Time
Switching between rendering engines usually means rebuilding everything from scratch. Maxwell’s V-Ray to Maxwell Scene Converter for 3ds Max saves you that headache.
You need V-Ray for 3ds Max installed, but it doesn’t need a license—the trial version works fine. The converter translates V-Ray materials to Maxwell equivalents and keeps most of your original work.
The conversion keeps:
- Basic material properties and textures
- Light positions and intensities
- Camera settings
- Object visibility and grouping
This helps studios work with multiple rendering engines or move from V-Ray to Maxwell. Instead of rebuilding scenes, you can focus on tweaking Maxwell-specific features.
Memory Management Tips for High-Poly Scenes
Memory problems often kill complex Maxwell renders before they finish. Innovative memory management can make the difference between success and a system crash.
Maxwell handles geometry instances efficiently. It treats copies as references to the original geometry instead of duplicating everything. This matters immensely for repeated elements like plants, furniture, or building details.
For high-polygon scenes, try these memory tricks:
- Use Maxwell’s instancing for repeated geometry
- Set up Memory Saving Instances for lots of repetition
- Delete objects outside your camera view
- Simplify high-density geometry from libraries
- Split complex scenes into separate render passes
Maxwell applies displacement, subdivision, and procedural geometry during rendering. This saves memory while you work, but can spike requirements at render time.
Still having memory issues? Try rendering in passes:
- Split foreground and background elements
- Render each pass with appropriate settings
- Combine everything in compositing software
For network rendering, Maxwell lets you completely control resource allocation. You can render one image across all available computers or assign different animation frames to each machine. You can distribute rendering tasks based on your project needs and available hardware.
These advanced techniques make even the toughest Maxwell projects manageable while keeping the photorealistic quality that makes Maxwell worth using for professional work.
Conclusion
Putting It All Together: The Maxwell Optimization Workflow
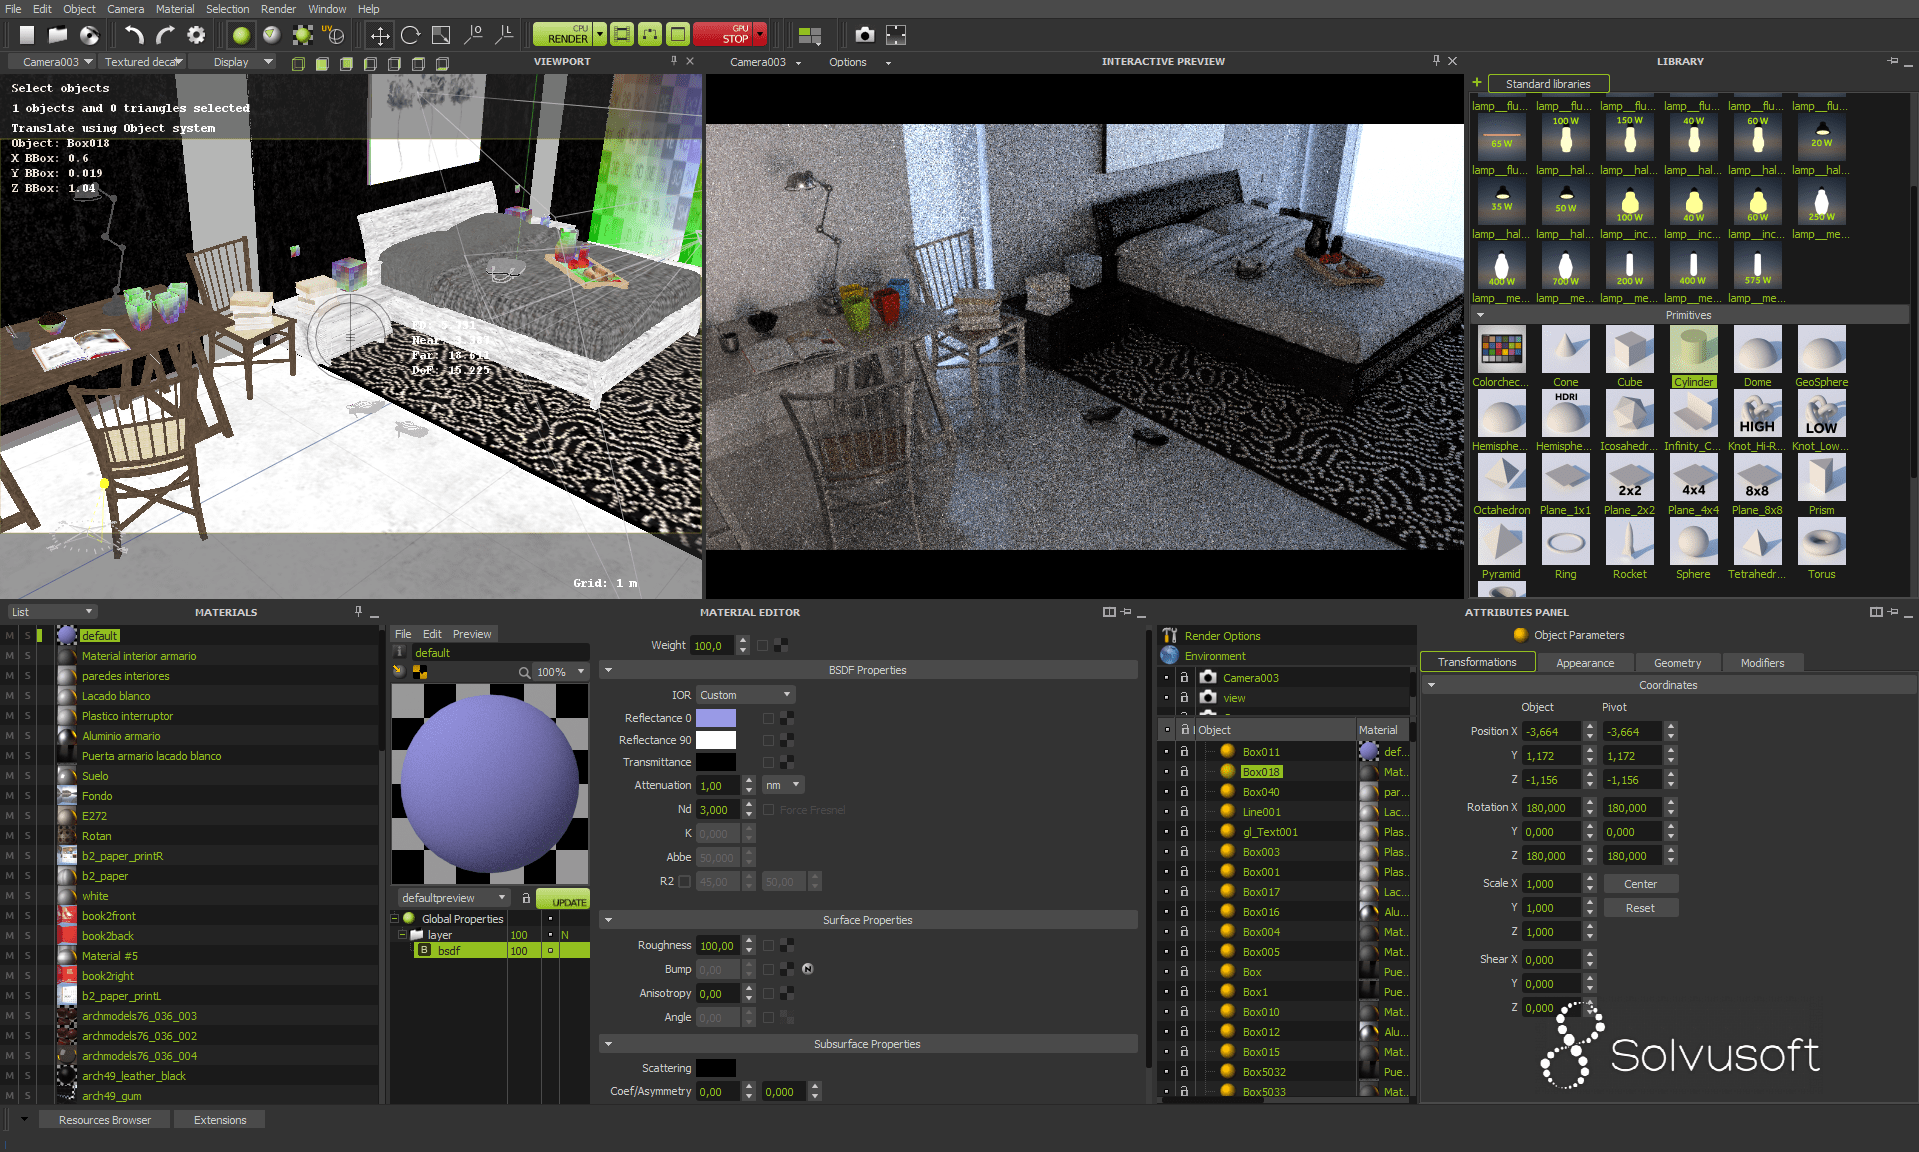
Image from: solvusoft.com
We’ve covered a lot of ground here—the speed tricks experienced Maxwell artists use but don’t always share. These aren’t just random tips you can pick and choose from. They work best when you use them together in your regular workflow.
Maxwell creates excellent photorealistic results. Getting those results fast comes down to understanding how the engine works. The stuff we talked about—simplifying materials, setting up multi-GPU systems, scene optimization—all connect to give you a complete approach that works on any Maxwell project.
Here’s how I’d suggest putting it all together:
- Think about speed from the start – Know your hardware limits before you build complex scenes
- Keep materials simple and GPU-friendly – Fewer layers, smarter texture choices
- Use the scene setup tricks – Group your Multilight elements, work with MXS references, and try procedural textures
- Set your camera like a real photographer – Adjust ISO, aperture, and shutter speed the way they work
- Go big when you need to – Multi-GPU setups or cloud rendering for those tight deadline projects
After years with Maxwell, I’ve learned that getting all these pieces working together beats focusing on just one thing. Good material setup plus smart scene organization can easily give you 5- 10x faster renders than just winging it.
Maxwell’s GPU engine has also come a long way. The early versions could barely handle basic materials on the GPU, but Maxwell 5 can tackle much more complex setups while staying fast. Each update keeps making GPU optimization more worthwhile.
Cloud rendering changed things for many Maxwell artists dealing with Urgent deadlines. Instead of spending thousands on new hardware, services like Maxwell Cloud let you tap into serious rendering power for reasonable money. This works great for freelancers or small studios that only occasionally encounter complex projects.
Maxwell still needs you to think about real-world physics, though. Understanding basic photography concepts—exposure, depth of field, and how light actually works—helps with both quality and speed.
Good Maxwell artists know that optimization isn’t about cutting corners. It’s about being smart with your workflow. The techniques here come from years of real project experience. Use them in your work and you’ll hit that sweet spot between Maxwell’s incredible quality and the render speeds your projects need.
Got other Maxwell speed tricks that we didn’t cover? Drop them in the comments!
FAQs
Q1. What are the key advantages of using Maxwell Render for architectural visualization?
Maxwell Render excels at producing photorealistic results with minimal setup effort. It offers a physically based rendering engine, accurate light simulation, and a powerful material system, making it ideal for architects and designers seeking high-quality visualizations.
Q2. How can I optimize Maxwell Render for faster rendering times?
To optimize Maxwell Render, focus on simplifying material layers, using GPU-compatible setups, implementing Multilight grouping, utilizing MXS references, and configuring realistic camera settings. Additionally, consider using multi-GPU setups or cloud rendering services for complex projects.
Q3. What’s the difference between GPU and CPU rendering in Maxwell?
GPU rendering in Maxwell is generally faster for scenes with standard materials and moderate complexity, offering up to 15x speed improvements. CPU rendering, while slower, supports all Maxwell features and handles more complex scenes with intricate shaders and geometry.
Q4. How does Maxwell’s camera system affect render times?
Maxwell’s physically accurate camera system directly impacts render times. Adjusting ISO, aperture (f-stop), and shutter speed can significantly reduce rendering duration. Higher ISO values and wider apertures generally result in faster renders, while smaller apertures and motion blur effects increase render time.
Q5. What are some advanced techniques for handling large-scale projects in Maxwell?
For large-scale projects, consider using multi-GPU rendering setups, leveraging cloud rendering services, importing V-Ray scenes to save setup time, and implementing memory management techniques like geometry instancing and rendering in passes. These approaches can dramatically reduce render times for complex scenes.